How to set up the exercises#
Choose an approach#
At the end of each lesson there may be an exercise that you may complete either:
In-browser (uses Thebe) ↩
In an online Jupyter lab environment (uses myBinder) ↩
Locally on your computer ↩
You may choose an approach you prefer then continue to the next page.
Thebe#
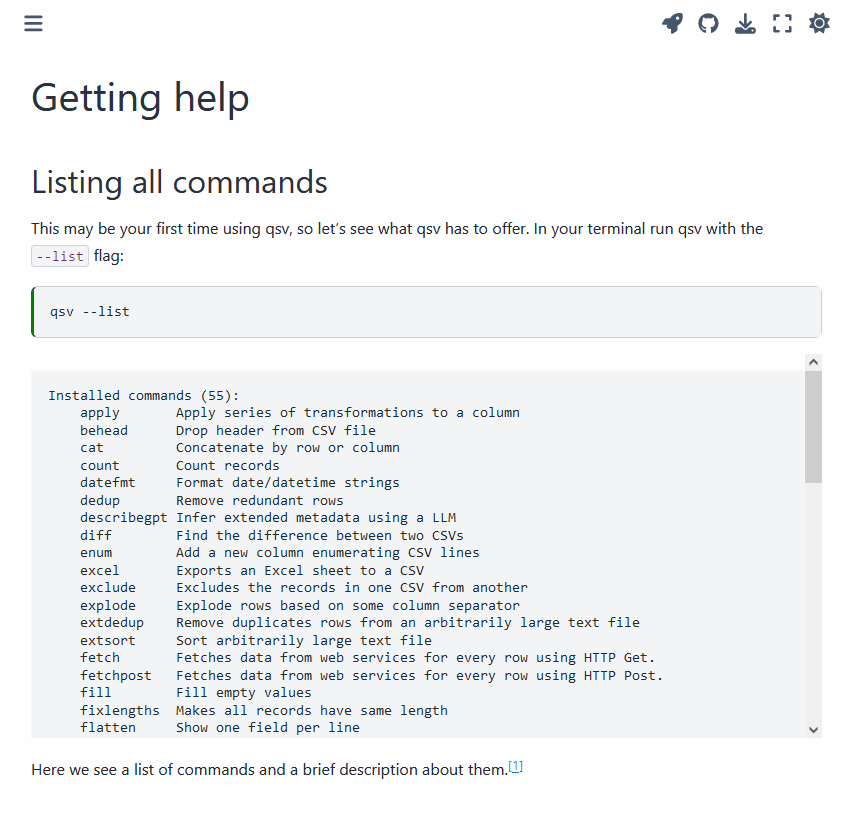
In the header for a lesson click the rocket icon and then in the dropdown click Live Code. Thebe should begin launching as shown in a new box that appears with its launch status. Once the status is set to ready (this may take a few seconds/minutes), then you should be able to edit and run the code cell within the page by pressing the run button or pressing shift + enter when your cursor is within a code cell.
Here’s a screen recording that shows how to do this for each lesson:
Binder#
Each exercise should have a launch button for launching an online Jupyter lab environment using myBinder (this may take a few seconds/minutes). You may choose to launch an exercise by clicking the following button when it appears in a lesson:
![]()
You may view the lab’s files by clicking the folder icon. You may also run a code cell by clicking the run button or pressing shift + enter when your cursor is within a code cell. Here is a basic demo:
Warning
When a Jupyter lab environment is ready, you may find a notes.md file in your lab’s files. We recommend you ignore the notes.md file as this file is the same one used to render the lesson page which may contain the solution to the exercise.
Local#
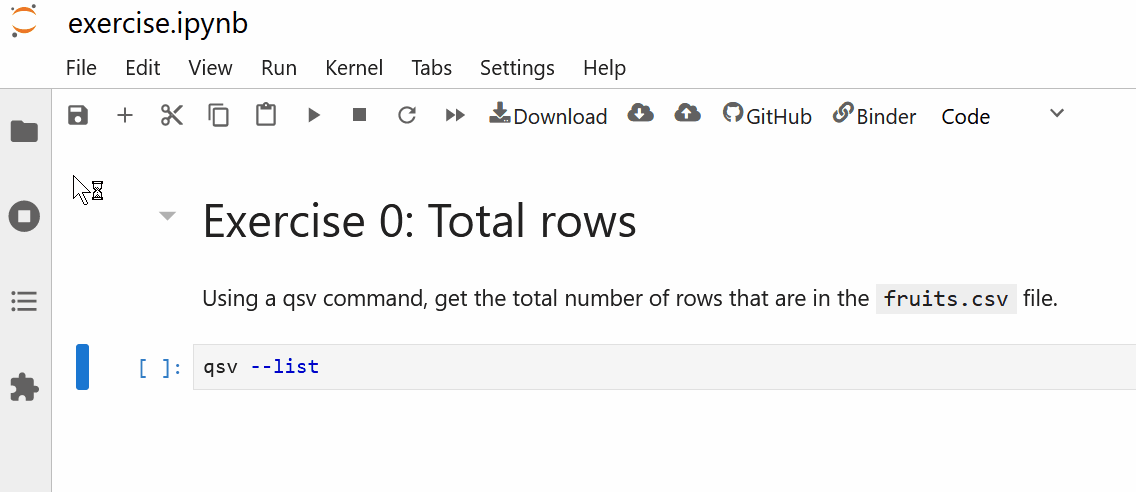
You may choose to run the exercises on your system. The rest of this page is an overview of how to load the exercises and how to install qsv locally. You may continue to the next page instead if you won’t do exercises on your system.
If you’re using Windows, we recommend using Git Bash as your terminal by downloading Git or use WSL2 with Ubuntu.
1. Download and extract the exercises#
Unzip
100.dathere.com.zip. You may delete everything except thelessonsfolder.
As you follow along with a lesson page on 100.dathere.com, once an exercise appears then you may change directory into the relevant folder (e.g., cd lessons/0 for the first exercise).
Warning
We recommend you ignore the notes.md file in each lesson folder as this file is the same one used to render the lesson page at 100.dathere.com which may contain the solution to the exercise.
2. Set up qsv#
If you already have qsv installed on your system and accessible from PATH then you may skip to step 3.
Download and extract qsv#
You may download qsv as an executable file which you may run in a terminal like other commands. There are multiple ways to download qsv and multiple versions of qsv.
Here’s one way to download the latest version (arbitrarily represented as version X.Y.Z). You may download the latest version of qsv from the latest releases on GitHub at: https://github.com/jqnatividad/qsv/releases/latest. Under the Assets section of the latest release you may find many files, so choose the right one based on your operating system and system architecture.
Here are the files we suggest if you’re unsure:
OS |
Suggested file(s) |
|---|---|
Windows |
Run the |
macOS |
Depending on your architecture, choose between |
Linux |
|
See also
If you’d like to know more about each file, see the table for qsv release assets.
If you have a .zip file downloaded then make sure to unzip it and locate the qsv file within it (or qsv.exe for Windows). You may start using qsv with that file right away if you’d like!
Add qsv to your PATH#
To ensure you may access qsv from your terminal in any directory without having to specify a path to the qsv binary file, you’ll need to add qsv to your PATH environment variable.
If you used the qsv-X.Y.Z.msi installer for Windows then this should have already been done for you. You may verify this works by opening a terminal (Windows Terminal, Command Prompt, Git Bash, Powershell, etc.), type qsv --list, and press enter to run the command. This should output the list of available qsv commands as intended.
For macOS and Linux there are various ways to add qsv to the PATH. One way is moving the qsv binary file to /usr/local/bin, which you may do by changing your directory to where qsv is located and running:
sudo mv qsv /usr/local/bin
You may need to restart your terminal. Try running qsv --list, which should output the list of available commands.
3 (Optional). Set up qsv completions#
Tab completions allow you to press the tab key at certain locations while typing a qsv command to get suggestions (completions) so you may view available commands, subcommands, and options within your terminal (assuming you’re using a compatible shell such as the bash shell from Git Bash on Windows).
qsv currently supports completions for the following shells: bash, zsh, powershell, fish, nushell, fig, and elvish.
Download the current completions file for your shell from qsv’s source code at contrib/completions/examples.
For example to enable the Bash completions:
Run
source qsv.bashto enable the completions in your current terminal instance (or replaceqsv.bashto the path to it if not in your current working directory).You may also move
qsv.bashto your home directory (~/qsv.bash) and also create a.bashrcfile in your home directory (~/.bashrc) to includesource qsv.bashas a line within it for the completions script to run whenever you launch a bash terminal.
Feel free to contribute to maintaining the completions if you know a bit of Rust here.
Reminder for exercises
If you’re running exercises locally then make sure you change your directory (cd) into the relevant directory in the lessons folder for each exercise. For example for the first exercise you may run this command from the root folder:
cd lessons/0
Recap#
If you chose to do a local installation, then by now you should have the following available on your system:
The
lessonsfolderqsv (available from your PATH)
qsv bash completions (optional)